Arduino on A BreadBoard with BlueSmirf
Arduino on A BreadBoard with BlueSmirf
Today Zach Eveland made my day! I was basically trying to setup my avr on a breadboard.(Link here) Since I didn’t have any usb to serial converter chip, I thought I could just go with my crappy serialtousb converter cable with a serial adapter on the breadboard side coming through a hex inverter.
So the original scenario was like that:

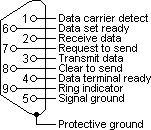
(Image is linked from Tom Igoe’s site. Link)).
- AVR’s TX goes to hex inverter’s TX (take the image as a reference connecting TX/RX to Hex Inverter) and then I put a serial connector that is connected to my usb to serial converter and can program the chip through this. I am putting the schematics for db9 too for my future reference.
Of course this didn’t work when I tried to program the chip. It could be several errors, my crappy usb-to-serial converter, the pins on the breadboard, the db9… So then Zach was passing through and as always I jumped and started asking him questions. After giving me good insights why it might not be working, he adviced me I could do the whole programming over bluesmirf if I have one. Actually I did have one!! He was kind enough to walk with me through this process. Here’s what we have done:
- Connect your bluesmirf to your circuit. Here is the manual of the product.
- If you have one of the recent ones like mine, you have to put a jumper between the outer pins. Zach put up a resistor between but told me it could be any two wires.
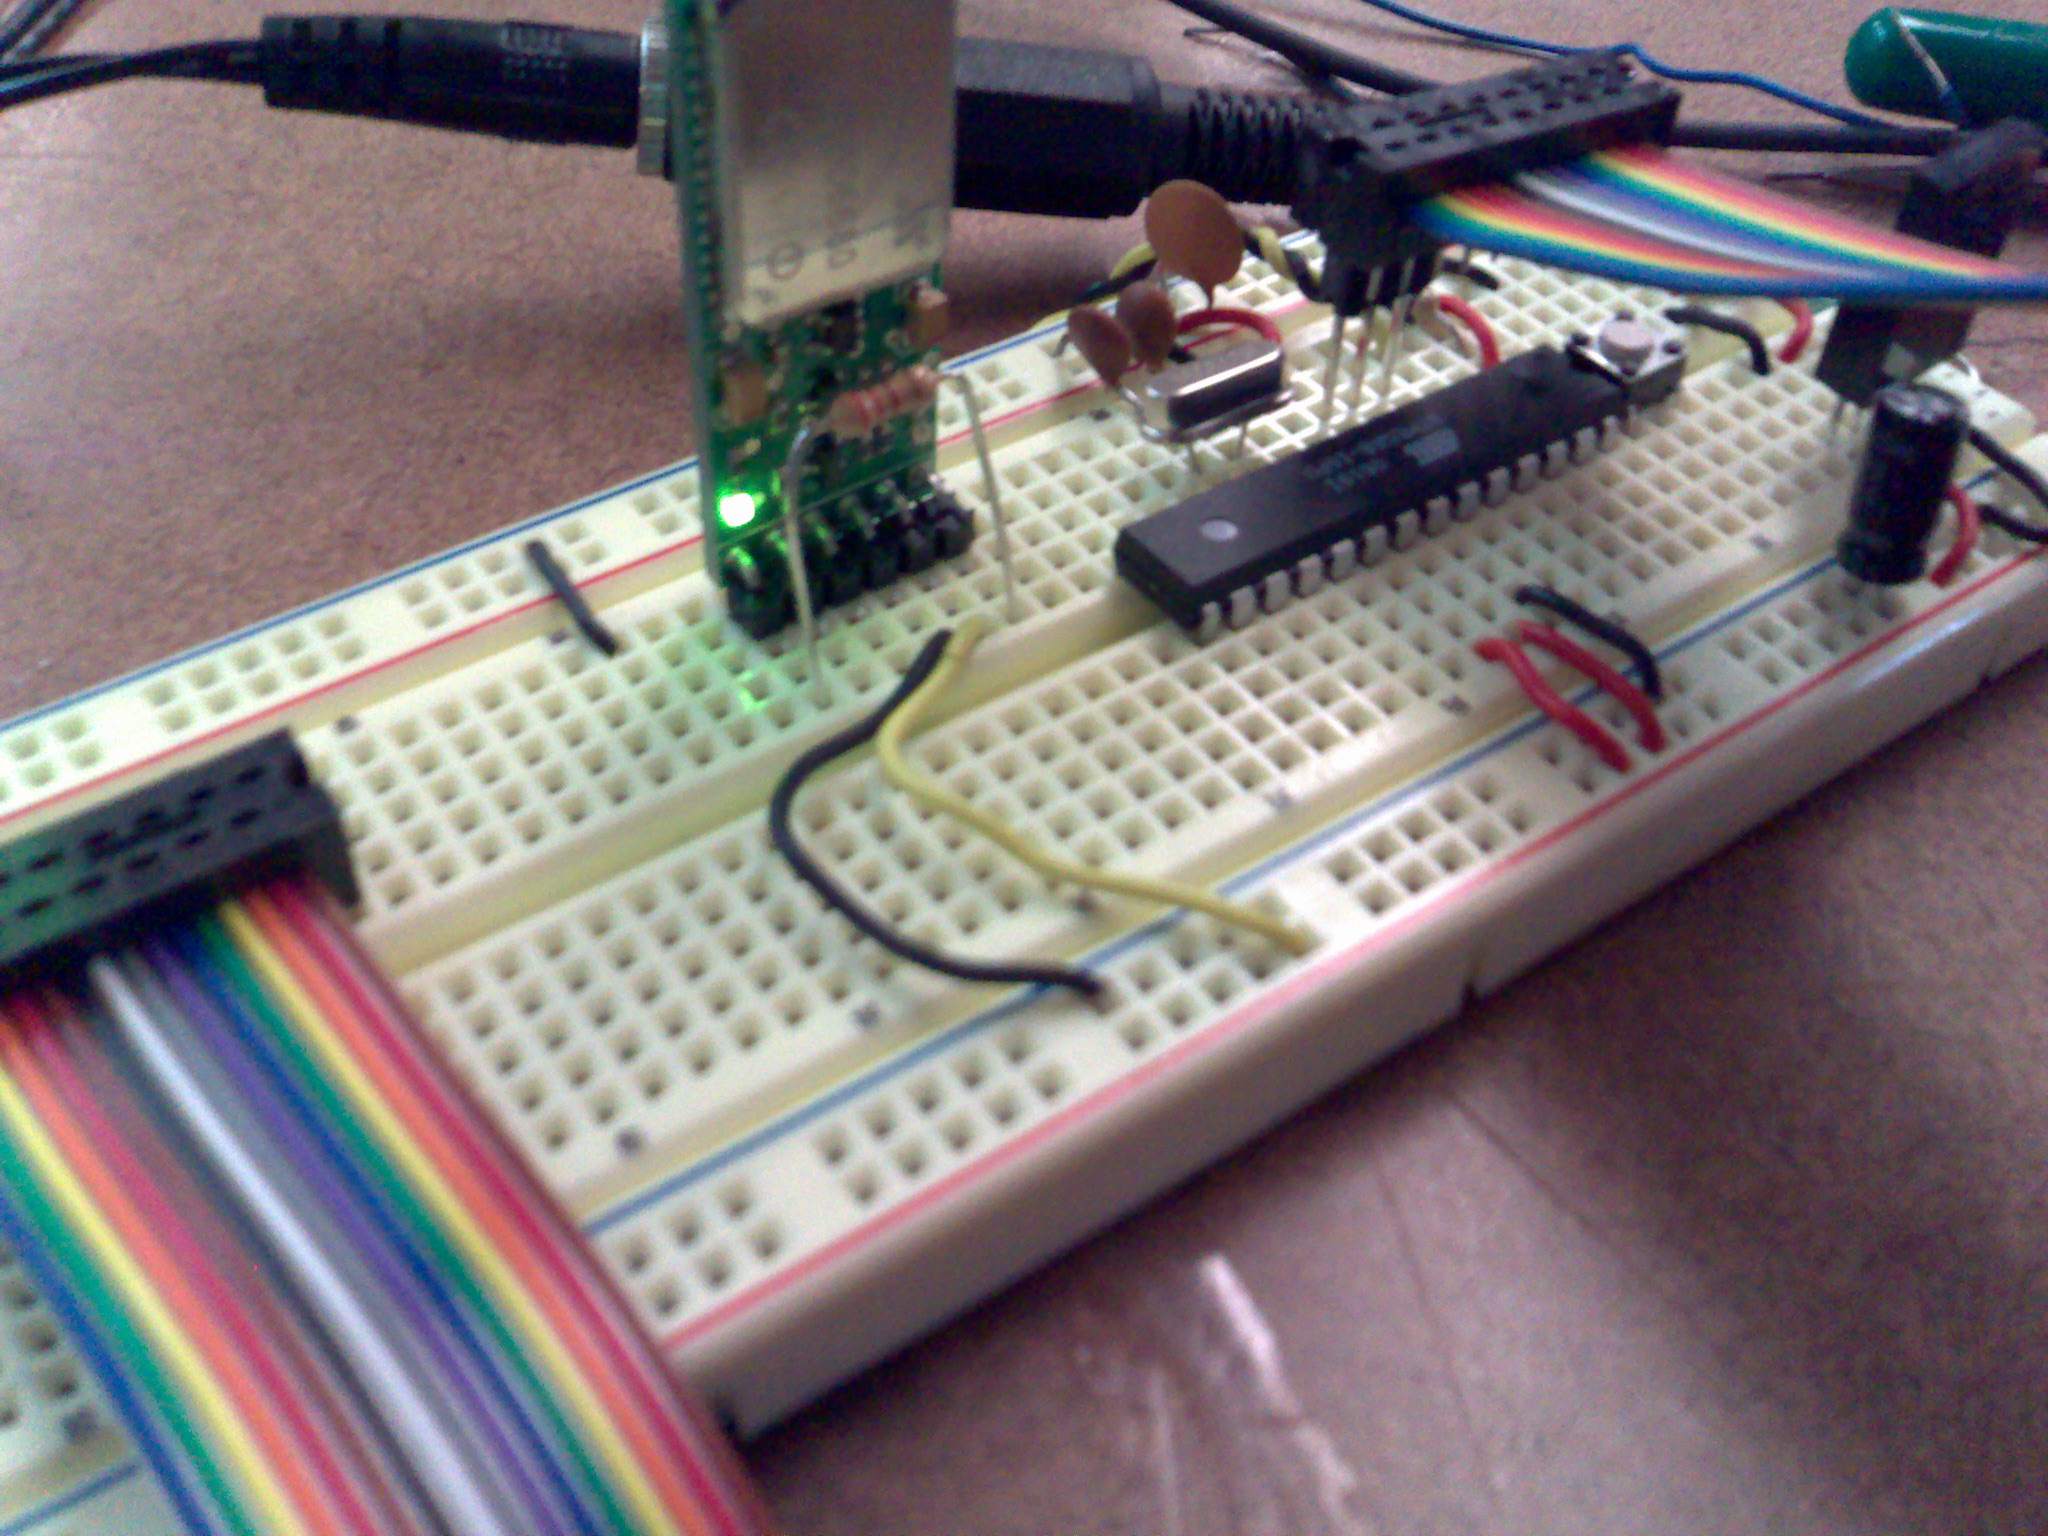
- Next we are powering up the bluesmirf as in the picture, so now we need to pair this with our computer’s bluetooth adapter so that when we try to program it, they should have already been paired and handshaked properly. I went to bluetooth preferences on my mac and on the devices tab, I pressed setup new device. With the bluetooth setup assistant popup, I chose any device and click continue and it listed me couple of devices and there I could select my bluesmirf which was listed as blueradios.
- Next we need to supply a passkey between devices and if we look at the manual of the bluesmirf it has set up as default. So we need to write default for the passkey. After that it gives you another window which you need to select the device you want to pair up with the bluesmirf but it doesn’t show up anything at all. Go ahead and select finish and don’t worry about that.
- So when we open arduino now, when we look at the devices listed on the serial port we will see a line with blueradios. Go ahead and select that.
- Now when I tried to program avr like in this setup, it did connected to bluesmirf (as we understand the blinking green light turns into red constant light, yeah it is weirdly reversed logic) but couldn’t program it. Zach told me it was about the baudrate and I need to set up the bluesmirf for 19200 instead of 9600 which it was set up. Here is a link that the command set for the BlueRadios can be obtained.
- In order to change the baudrate, we need to open a terminal window into the bluesmirf device just like we do with xport or arduino.
screen /dev/tty.BlueRadios-COM0-1 9600
- After we open the window, when we type ’+++’ if we get the OK status back it means we are connected. So we need to write down the new command which will set its baudrate from 9600 to 19200. Here is the command:
ATSW20,79,0,0,1
- When you write this and press enter, it should change the baudrate. You are not going to get any feedback that you changed it really. You should go ahead and restart the bluesmirf. Quit the screen and it is going to reset itself.
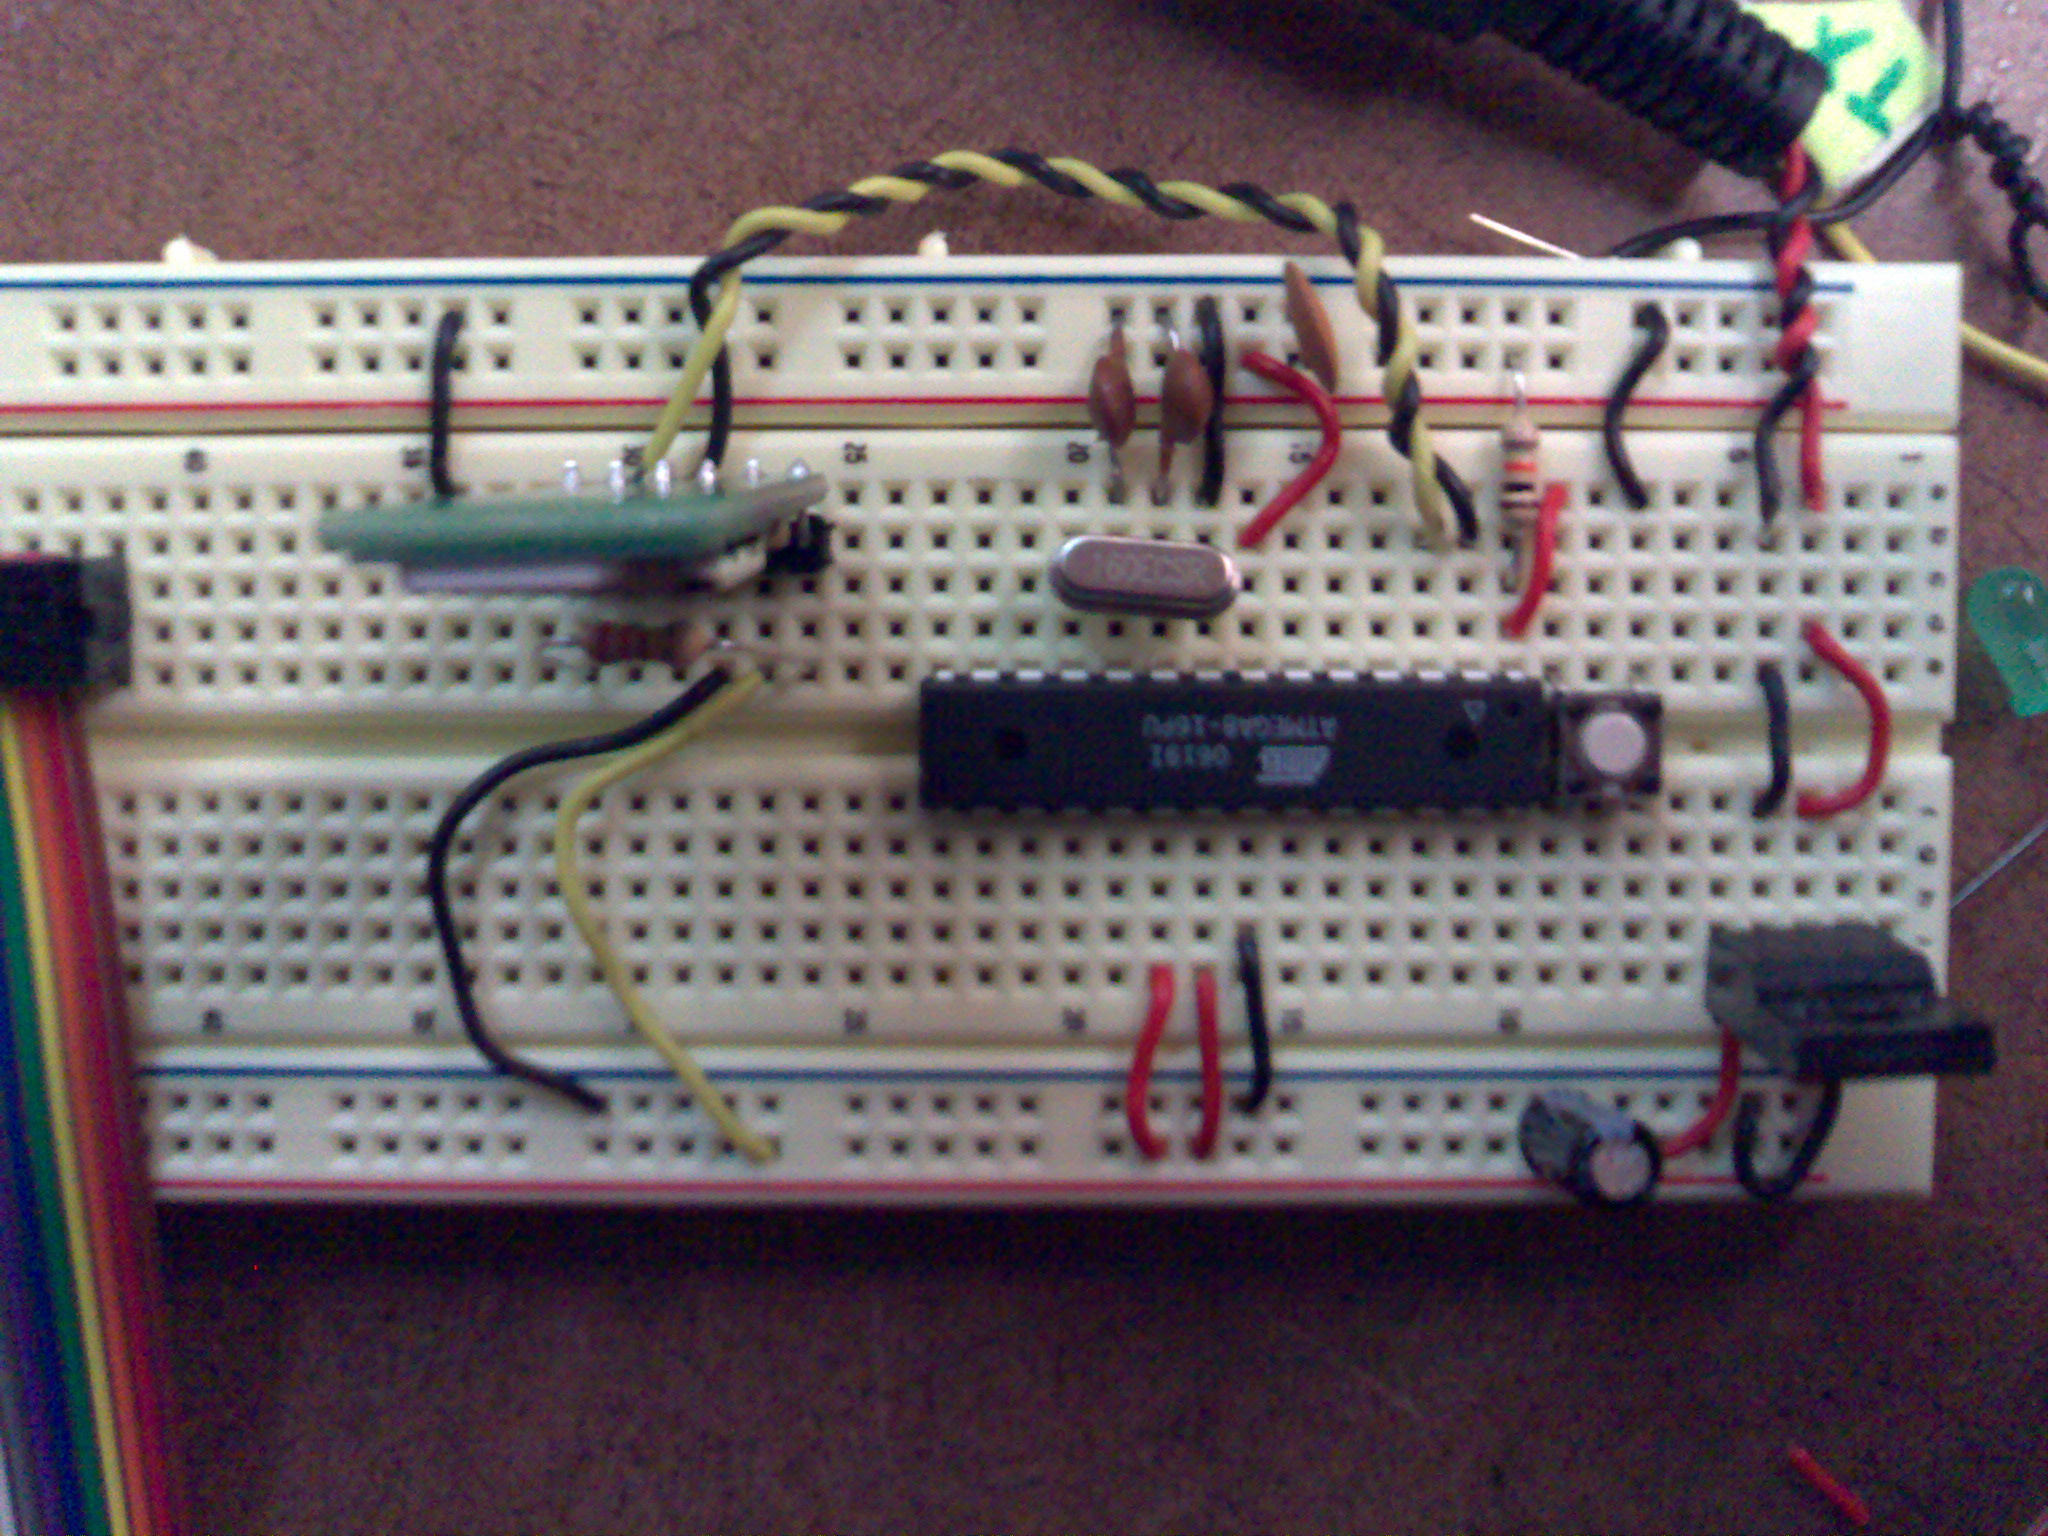
- So now when you go ahead and program your chip, it is going to work! At least it worked for me! Here is another photo from the circuit.
Big thanks goes to Zach Eveland for his patience when he was helping me out!